


 Fig. A. Freshly baked and sliced Basic White Bread.
 Fig. B. Resting Dough
 Fig. C. Risen Dough (on a pre-floured surface)
 Fig. D. Punching down risen dough
 Fig. E. Folding dough into into loaf shape. The bottom seam has been pinched together, and I'm folding up the ends. This loaf actually could have been rolled even tighter.
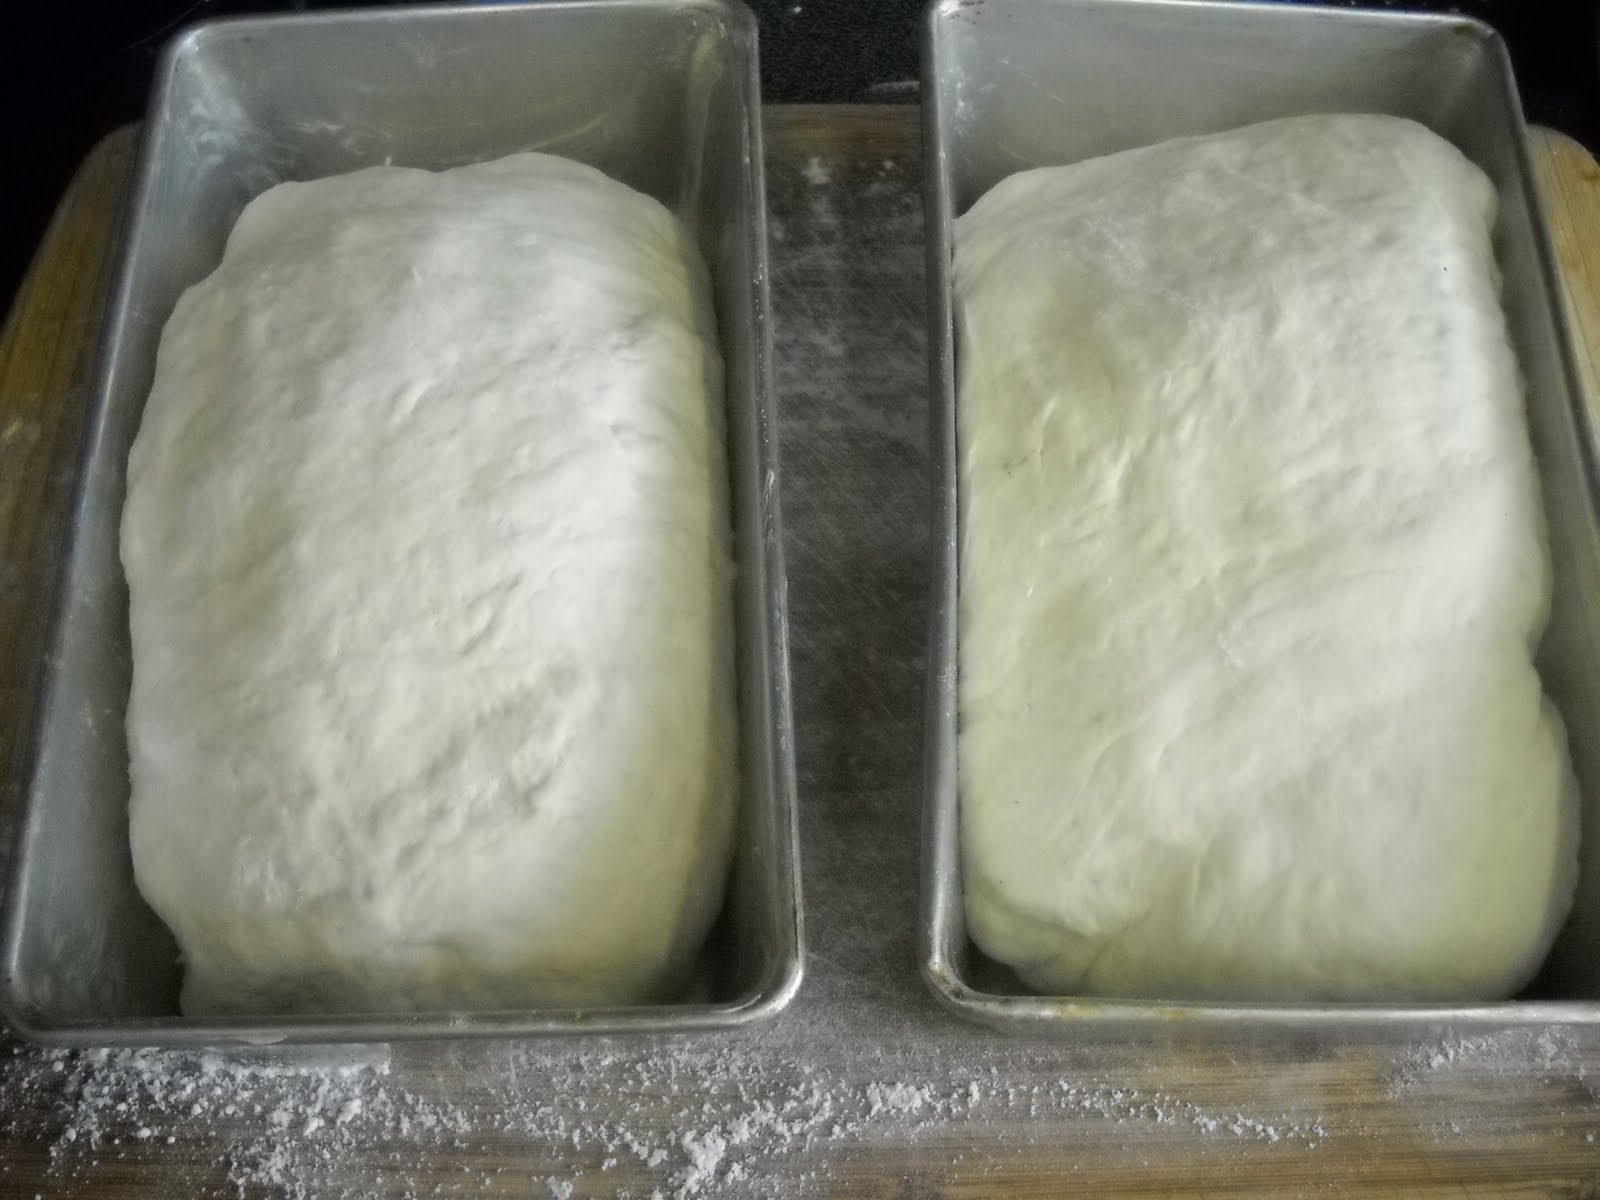 Fig. F. Resting dough in loaf pans.
 Fig. G. Risen dough in loaf pans.
 Fig. H. Slashing floured tops of risen dough.
 Fig. I. Fresh out of the oven. The loaf on the right has a little less flour because I took it out of the pan to tap the bottom and then put it back in for the picture. Shucks. But notice how they are so puffy and have risen above the pans.
Basic White Bread
Ingredients:
Makes two loaves
Two large bowls
In each bowl add:
5 1/2 cups bread flour or unbleached all-purpose flour
2 Tbs. salt (Can adjust to 1 Tbs. for less salt, if desired)
1 packet Rapid Rise yeast packet
2 cups cold tap water
Directions:
In each bowl put in the dry ingredients. Carefully whisk until well mixed. Add the water and mix as well as you can with a large spoon. On a lightly floured surface, pour out the contents of each bowl one at a time, unless you have a helper, then you can use two floured surfaces simultaneously. Knead the dough for ten minutes, adding a little flour at a time, if the dough gets sticky. Thoroughly wash each bowl, and put the dough back in them (Fig. B). Cover each bowl with a damp, clean dish towel. Let it rest and double in size for two hours (Fig. C). Lightly grease two loaf pans. You can do this by either spraying with Pam or by taking a paper towel with a bit of margarine on it and rub it around the inside of the pans. Remove towels and gently punch down dough in the middle and a couple of times on the sides (Fig. D). Again, pull out each bowl's dough onto floured surfaces and flatten and shape to look like somewhat rectangular shapes, roughly the shape of your loaf pans but a little bigger. Roll up the dough from the short end, somewhat snugly. Pinch the seam together and fold under the ends (Fig. E). Now you'll have a loaf shape again in this position. Rest for another hour to double in size with the towels again in place (Figs. F and G). Preheat the oven to 450 degrees. Remove the towels and sprinkle and gently spread flour on the top of each loaf. With a sharp knife, gently cut a slash down the center about an inch deep of each loaf (Fig. H). Bake for 15 minutes, then turn down heat to 400 degrees and continue baking for another 25 minutes. They will have a nice golden color on top when done (Fig. I). When the bread is removed from the pans, tap the bottoms to hear a somewhat hollow sound. Let cool out of the pans on a cooling rack. Added tip: If you are baking more than one loaf at a time, bake for 30 minutes instead of 25, and then remove them from the pans, place upside down directly on grills, and bake for another 5 minutes. After a few minutes of resting, even when very warm, the bread can be sliced for a wonderful treat (Fig. A). We toast ours, use it for sandwiches, snack on it, dunk it in split pea soup, and have it for dessert. This recipe makes two loaves, which feeds five hungry vegans for about three days.
Beautiful looking loaves you've got there! I've been slacking in the bread-making lately but might mix up a batch today. Since I've become a fan of Artisan Bread in 5 Minutes a Day, that's all the time I can spare.:D I also am devoted to white whole wheat flour — amazing taste and texture but whole grain. Back in the olden days, I used to knead up four loaves at a time. Must have been crazy.
ReplyDeleteHi, Andrea - thanks! I'm not familiar with Artisan Bread in 5 Minutes a Day - I'll check out your site and see if you've posted on it. If I had more loaf pans, I'd knead more bread, too! That would be a timesaver.
ReplyDeleteI love the great smell of freshly baked bread as that aroma lingers throughout the house all day. And I also love to eat very hot with lots of vegan butter on it....its so divine!
ReplyDeleteWe do too, Millie! :-)
ReplyDeleteWhat a beautiful bread! :) I should finally get some loaf pans, too. I assume you could bake this one without a pan - formed into a loaf, on a baking sheet - as well?
ReplyDeletePerhaps, Seglare. I've never tried it, so I don't know if it would hold it's shape. But, even if it didn't, round, lumpy bread tastes just as good as rectangular bread! I say go for it!
ReplyDeleteMaking your own bread looks like so much fun! I always think of that "I Love Lucy" episode where she added too much yeast and the bread was huge! haha I have to try making my own soon..it doesn't appear to be that hard.
ReplyDeleteJacklyn, I can totally see you doing this. Making bread is not hard; I think it's just the time it takes to wait that throws people off.
ReplyDeleteYour bread turns out amazing! My husband keeps nudging me to make bread to save money, and I'm inwardly whining because I think it's a lot of work. I'm going to do it, though! :) Thanks for the pictorial encouragement.
ReplyDeleteThanks, Jenny. You can do this. This is such an easy recipe. And it is cost-effective. Glad the pics helped.
ReplyDeleteI like bread too much already. A warm soft loaf just sitting around the kitchen wouldn't be good.
ReplyDeleteI know what you mean. I keep thinking my family will slow down on eating it, but they never do.
ReplyDeleteYour bread looks so good! I've only made bread in a bread machine. I keep trying to get the courage up to try it this way. :o)
ReplyDeleteMichelle, I actually have a bread machine, but whenever I've used it, the bread comes out like hard rocks. I don't know what I'm doing wrong, but I only make bread this way now. It turns out great every time. You definitely should give it a try!
ReplyDeleteI am planning to spotlight and feature throughout the month of November cookies that vegans can enjoy for the Holidays. These cookies are all made by my blogroll vegan friends.
ReplyDeleteI would like to include you as one of my blog guests for that month.
Every 4 days I will highlight one of my vegan bloggers from my blogroll with one of their best holiday cookie recipes. I will highlight their blog on my blog for 4 days.
I will post the written information they sent me for the month of November for 4 days. Then I will highlight another blogger friend. Once I have highlighted you, you then need to post it on your blog sending your blogger friends towards my blog to see your guest post.
Make sure your recipe is not complicated.
If you are interested to join me on this month of great vegan or raw cookie recipes please email me all the information I have requested by October 20th.
Your entry must be in writing and sent to me via email. I need you to send me a photo of yourself and a photo of your family. In your summary tell me a little bit about yourself, where yo live, your marital status, your career and of course your recipe complete with a photograph of your cookies.
scoobynana2@hotmail.com
Thank you.
Hi, Millie, thanks for the offer! I'll e-mail you with my response. :-)
ReplyDeleteGood morning, Blessing!
ReplyDeleteThank you, Pet. :-)
ReplyDeleteI stumbled upon this recipe essentially by accident. My three year old and I made two loaves of this today and they are awesome! Her little loaf didn't turn out quite as lovely as the other.. But, she's proud and it's adorable none-the-less. She's thrilled that we'll be turning hers into garlic bread tonight. Thank you for sharing this!!
ReplyDeleteNicole, You're welcome! I'm so glad you had fun with this.
ReplyDeleteTbs is tablespoons, isn't it? I'm pretty sure it's meant to be tsp/teaspoons. I found that out the hard way when I tried out this recipe yesterday. The bread turned out way too salty! S: I'll have to try this again but with much less salt. But other than the saltiness, it turned out fairly well considering it was my first time baking bread! I know it'll be perfect the next time, though.
ReplyDeleteSavannah, feel free to adjust the salt as needed.
ReplyDelete