


I hope this was a useful step-by-step program on how to preserve delicious springtime asparagus. Look for more tips coming up soon!


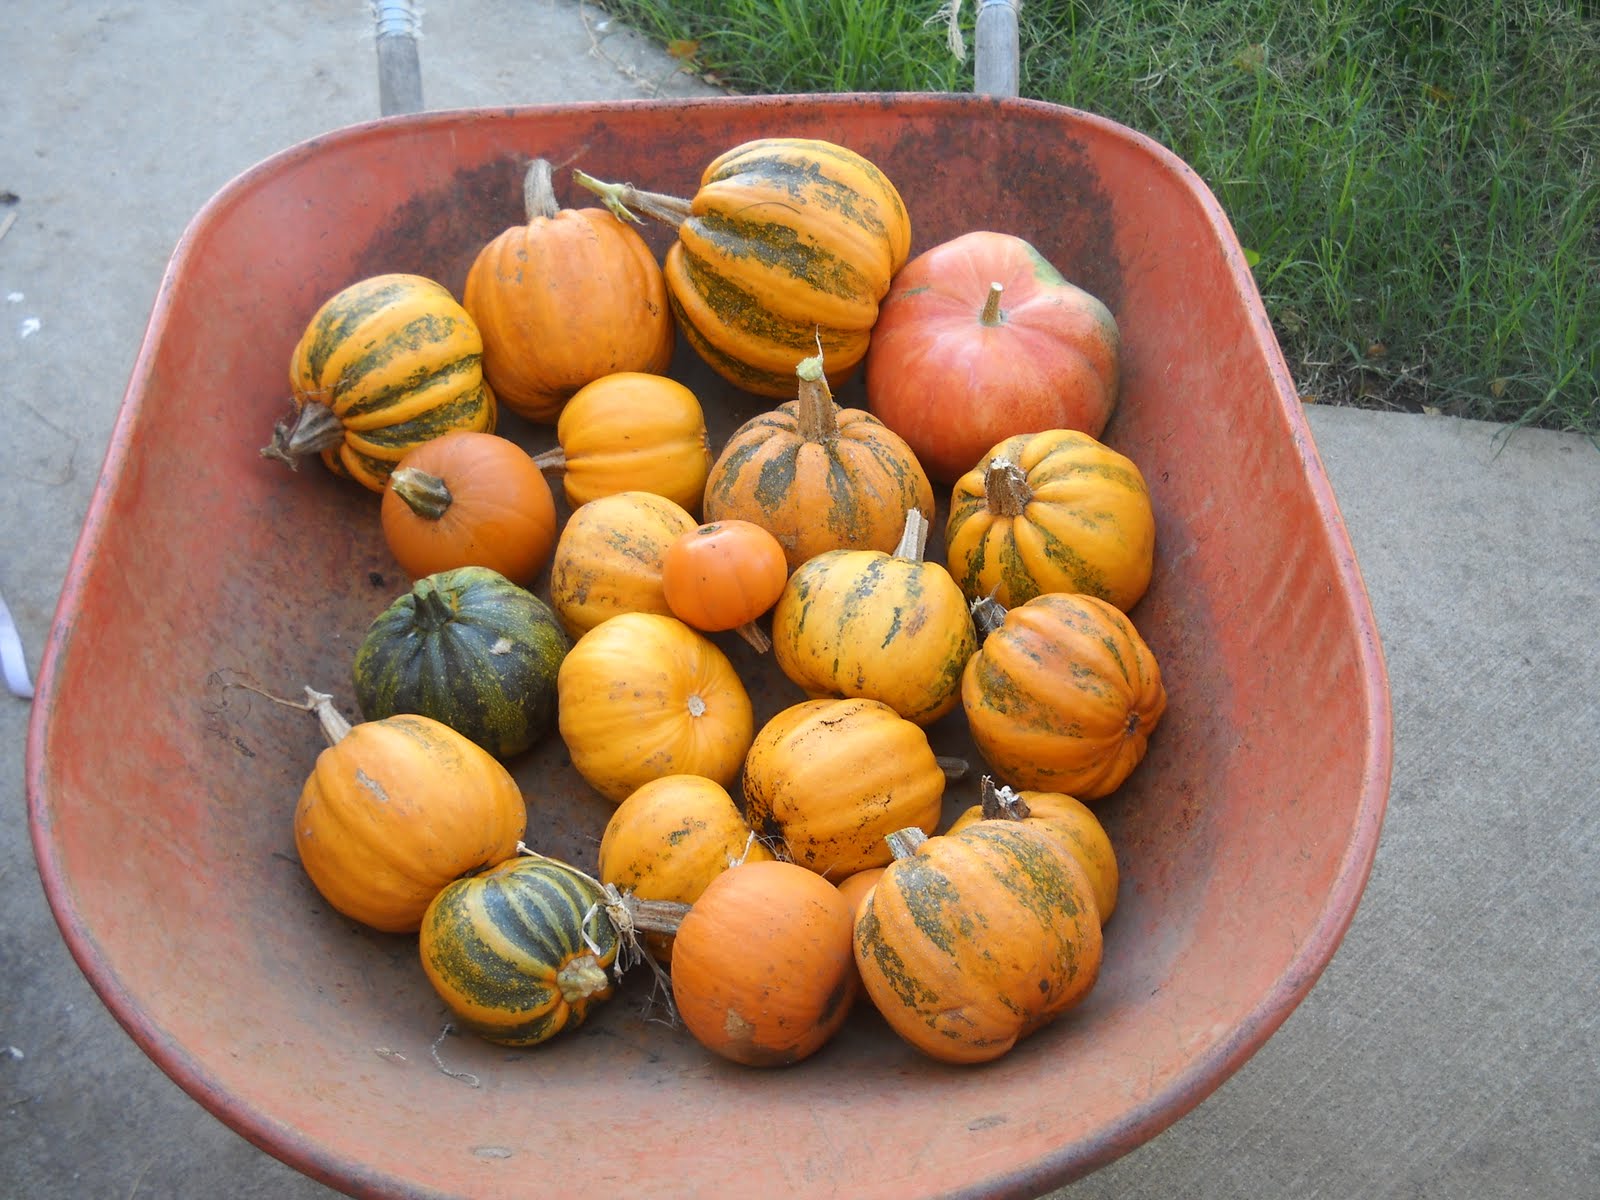 This is G's wheelbarrow full of different varieties of pumpkins. He cut them all off the vine for me, which is harder than it sounds. They can stubbornly cling to the vine, and the stems of our pumpkins had spiny thorns all over them.
 Washed free of loose dirt, waiting for processing. You can see some of those thorny stems I mentioned.
 They were hard as rocks, unlike the ones you get at stores or pumpkin patches. So, G suggested I boil them first to soften them, much like a potato. Very ingenious. I fit as many pumpkins as I could in my largest pot and boiled for at least fifteen minutes. Some took twice as long, depending on their size. They were done when I could either stick them with a fork or a sharp knife. Be careful during this step. Use tongs to put them in the water and remove them, by their stems. Turn them over a few times while they boil. When you prick them, they release hot, liquidy bubbles. Set them aside to cool enough, so you can handle them.
 This is what a boiled pumpkin looks like inside. Scoop out the guts and seeds and set aside - you can rinse and bake the seeds later. I actually have so many seeds, several cups worth, that I'm still sorting them! Yay!
 Preheat the oven to 350 degrees. Wrap each pumpkin half with foil, just covering the top is fine, or wrapping the whole half is fine, too. Bake for at least an hour. If your pumpkins are soft when you get them, you can skip the boiling step and bake for an hour and half. Remove the foil and set aside for a few minutes to cool. I had all the pumpkins going in different stages: while some were boiling, others were baking. Also, some of my pumpkins were so soft after the boiling step, that they skipped the baking step and went straight into the food processor to get pureed.
 Scoop out the flesh from the shell and puree in a food processor until completely smooth. Some pumpkins were still a little firm after baking; it didn't seem to matter their size. For these, I chopped first and added a couple of tablespoons of water to get them moving. Don't add too much because you don't want watery puree. If you feel they are too firm, bake them a little longer. Pretty color, don't you think?
 Cool the puree enough , so you can bag it. I scooped out one cup measurements and put them in sandwich bags. I ended up with 23 cups of puree! My garden is my number one way I have saved money on groceries. If you have space for even a small pot, I highly recommend planting something to grow and eat.